12 Common Interior Painting Mistakes and How to Avoid Them
Interior painting looks simple until the second coat goes on and the wall still shows roller marks, lap lines and a patch that reads darker than everything around it. After hundreds of interiors across Old Forge, Scranton and the surrounding counties, we see the same twelve mistakes over and over, and nearly all of them happen before the first brush is dipped.
Here is what goes wrong, why it happens, and what to do instead.
1. Skipping the wash
Kitchen walls carry a film of cooking grease. Bathroom walls carry soap residue and humidity. Hallways collect hand oils at exactly the height people touch. Paint does not stick to any of that. It sits on top, and within a year it starts to peel where the wall was dirtiest.
Wash walls with a mild degreaser or a TSP substitute, rinse with clean water and let them dry fully. It is the least glamorous step of the whole job and the one most homeowners skip.
2. Painting over damage instead of repairing it
Paint hides color. It does not hide nail holes, hairline cracks, dents from furniture or the ridge left by an old patch. Under fresh paint those flaws are actually easier to see, because a new uniform sheen throws every bump into relief.
Fill holes with lightweight spackle, tape and mud anything longer than a hairline, sand flush, then spot prime the repairs so they absorb paint the same way as the wall around them.
3. No primer where primer is needed
Not every wall needs a full primer coat, but some surfaces will fail without one: bare drywall and joint compound, glossy trim, stains from water or smoke, and any dramatic color change such as deep red to off-white. Primer seals porous spots so the topcoat dries evenly, and it blocks stains that would otherwise bleed through two or three coats of finish paint.
4. Buying the cheapest paint
Budget paint uses less pigment and cheaper binders. It covers poorly, so you buy a third coat to make up the difference, and it scuffs and burnishes sooner, so you repaint years earlier. A mid-grade or premium line from a major manufacturer usually costs less per year of service than the bargain can, and it is far easier to touch up.
5. Choosing the wrong sheen for the room
Flat paint hides imperfections but marks easily. High gloss cleans beautifully but shows every flaw. Most homes in Northeast PA do well with matte or eggshell on living room and bedroom walls, satin in kitchens, bathrooms and hallways, and semi-gloss on trim and doors. Our paint sheen guide walks through each finish room by room.
6. Judging a color from the chip
A two-inch chip under store lighting tells you almost nothing about how a color behaves across a twelve-foot wall under north light in January. Colors read lighter and more saturated at scale, and undertones that are invisible on the card show up next to your floor, your cabinets and your furniture.
Paint a large sample board, at least two feet square, and move it around the room at different times of day before you commit. If you are working with an older home, our guide to interior paint colors for older homes covers the palettes that suit plaster walls and original trim.
7. Painting in poor light
Painting a room by a single ceiling fixture guarantees missed spots, thin patches and drips you find the next morning. Bring in a work light and rake it across the wall at a low angle while you paint. Every holiday and roller line shows immediately, while it is still wet and easy to fix.
8. Cheap brushes and rollers
A bargain roller sheds fibers into the finish and leaves a stippled texture. A cheap brush cannot hold a line along trim, so the cut-in looks ragged. Use a quality angled sash brush for cutting in and a roller cover with the right nap for the surface: 3/8 inch for smooth drywall, 1/2 inch for light texture, thicker for heavy texture or masonry.
9. Overloading the roller, or starving it
Too much paint on the roller drips and sags. Too little drags and leaves a dry, uneven coat that needs another pass. Load the roller evenly in the tray, roll off the excess on the ramp, and work in sections roughly three feet wide, keeping a wet edge so each pass blends into the last. Lap marks come from letting one section dry before the next one overlaps it.
10. Not enough drying time between coats
The can says recoat in four hours. In a damp basement or on a humid July afternoon in the Lackawanna Valley it can take twice that. Recoating too early drags the first coat, leaves roller texture and can cause the finish to stay soft for days. Wait until the first coat is fully dry to the touch and no longer cool, then check a low corner with a fingernail before rolling the next coat.
11. Bad taping, or taping instead of cutting in
Tape applied to a dusty surface lets paint bleed under the edge. Tape left on too long tears the fresh paint when it comes off. Tape pressed over a still-wet coat pulls the paint with it. If you use tape, apply it to clean dry trim, press the edge down firmly, and remove it while the topcoat is still slightly wet, pulling back at a 45 degree angle. Professional painters usually cut in freehand with a good brush, which is faster and leaves a cleaner line once you have the technique.
12. Rushing the cleanup and the last look
The job is not finished when the roller goes in the sink. Walk every wall with a light, touch up thin spots and drips, put outlet covers and switch plates back, and give the paint a week before hanging pictures or pushing furniture against it. Paint that feels dry in an hour is still curing for days.
When it is worth calling a professional
A single bedroom in good condition is a fair weekend project. Where DIY tends to go wrong is high ceilings, stairwells, plaster repairs, dark-to-light color changes, and whole-home repaints on a deadline. A professional crew brings the prep, the equipment and the time, and the finish is usually visibly different, especially along trim and in raking light.
If you are weighing it up, our guide to choosing a painting contractor explains what to ask, and our interior painting cost guide covers what drives the price in Northeast PA. To have us look at your project, request a free estimate from our interior painting service page or call (570) 290-8471.
Frequently asked questions
Do I really need to prime before painting over an existing color?
Only in specific cases: bare or patched drywall, glossy surfaces, stains, and big color jumps. A sound, clean, matte wall going to a similar color usually needs two coats of a quality paint and no separate primer.
How many coats does an interior wall need?
Two coats of finish paint is the standard for a durable, even result. Very dark or very saturated colors sometimes need a third, and a tinted primer under them reduces that.
Why does my wall look blotchy after painting?
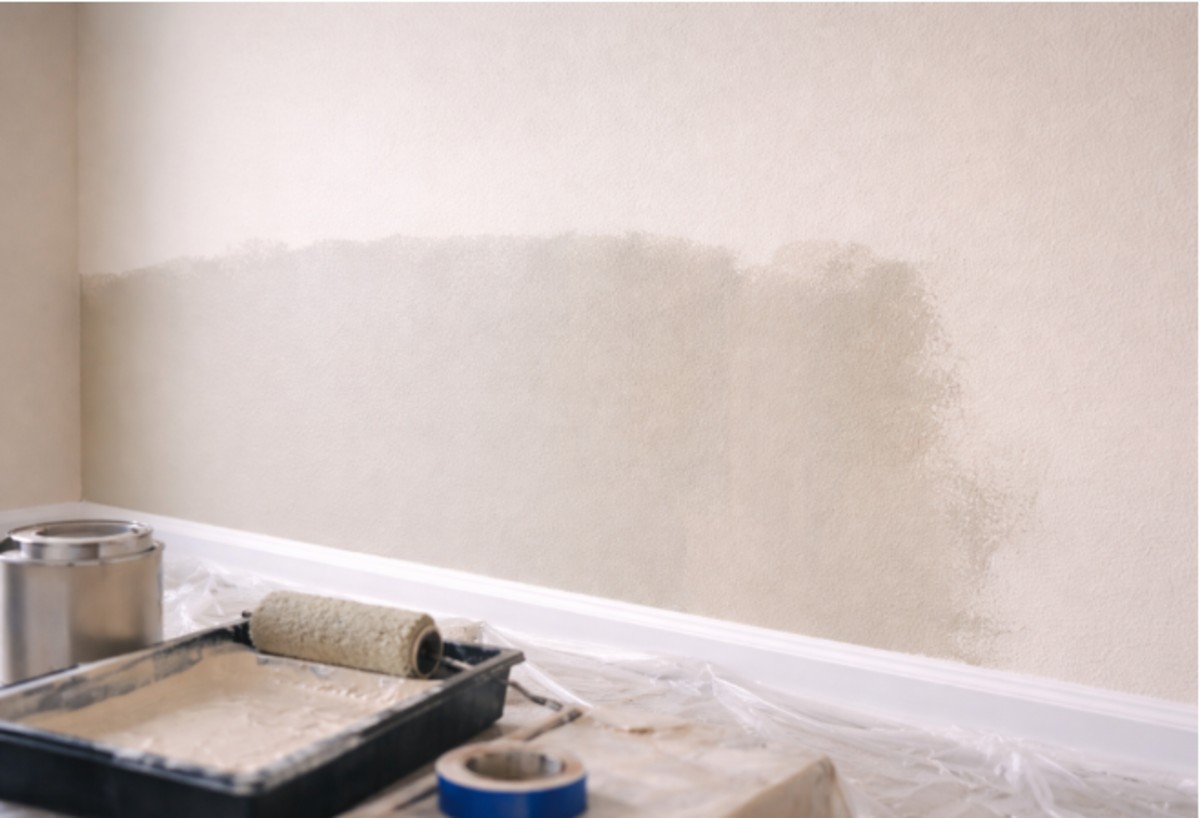
Blotching is almost always uneven absorption: patches that were not primed, a wall that was washed in some places and not others, or a first coat that was recoated before it dried. Sand lightly, spot prime the patches and apply one more full coat with a wet edge.
What is the best temperature for interior painting?
Most interior paints want the room between 50 and 85 degrees Fahrenheit with moderate humidity. In winter, keep the heat on and a window cracked for ventilation; in summer, run a dehumidifier in damp rooms so coats dry in the time the label promises.
